Zeta book scanner instructions
-
Select mode (USB only)
If scanner is not turned on, switch on powerpoint and press power button at rear of machine
Select language
Accept Copyright Policy
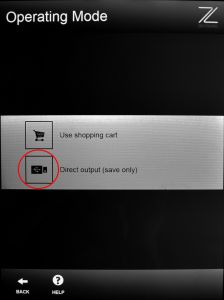
Insert USB storage device in top right-hand corner above screen, and select 'Direct output'
-
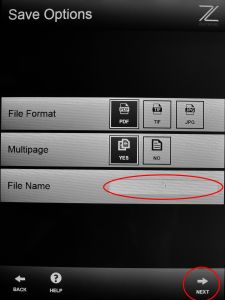
File settings
Choose your file format, the type of document (one page or multiple pages) and create a file name.
Touch the 'Next' icon to get to the scanning screen.
-
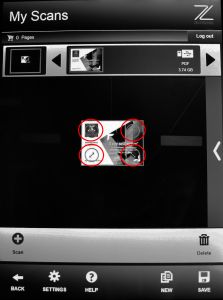
Scanning and cropping
Touch the green 'Scan' icon.
For some books, after touching the green 'Scan' button you may need to gently hold flat the edges of the pages while they are scanned.
Once the image of your document appears, you can crop the page by sliding the red circles in the corners so the red outline contains only the information you want to capture.
Note: cropping helps to create a smaller file size.

-
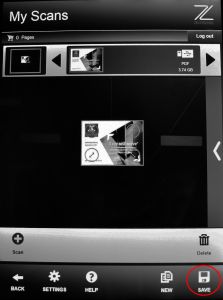
Saving
Once you are happy with the scan, select 'Save' to add page to your file. Turn to next page or replace document before repeating the steps scan, crop, save. Your previous scans from this file appear in the scroll bar at top of the screen.
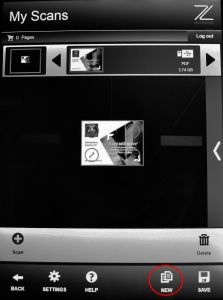
If you are ready to start a new file touch the 'New' icon. When you are finished touch 'Log-out' in the top right of the screen and remove your USB.
Note: All files go into a folder name 'Zeta' on your USB drive.
-
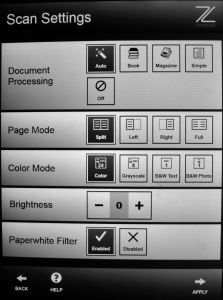
Scan settings
You can touch the 'Settings' icon to manually change the scan settings.
Document Processing: Auto identify the type of document, or select the document type manually
Page mode: Select the pages of the book you wish to capture, single page or full page
Colour mode: Choose from colour, black and white, or greyscale scans
Brightness: Manually increase the brightness